
So a while back (let’s not talk about how long ago) I found the site of HazyMat
He seemed to have found a great solution for doing some work on whole home audio. This is something I have been trying to find a good solution for myself.
I decided to test this out myself using the XAP 800. 
 I picked this thing up on ebay for $24 bucks. So I did some testing and was able to do some audio routing via serial port which means I can use Openhab to control the audio matrix. Not the same matrix. But as I have shown before, the connectors might be a pain in the butt to try to wire everything up.
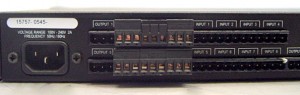
Screw down terminals are great but not convenient if you have it mounted in a rack. Which is what I wanted to do with mine.
So how do we make this better? A patch panel!!!

So I started looking around. I could do a keystone jack patch panel. But then doing rca keystone jacks were going to be way more expensive than I wanted to spend. $24 bucks for the audio rig and Im looking at $100 bucks for the patch panel….. NOPE!
So here is what I decided to do. Use a 2u blank rack plate. Like this one. 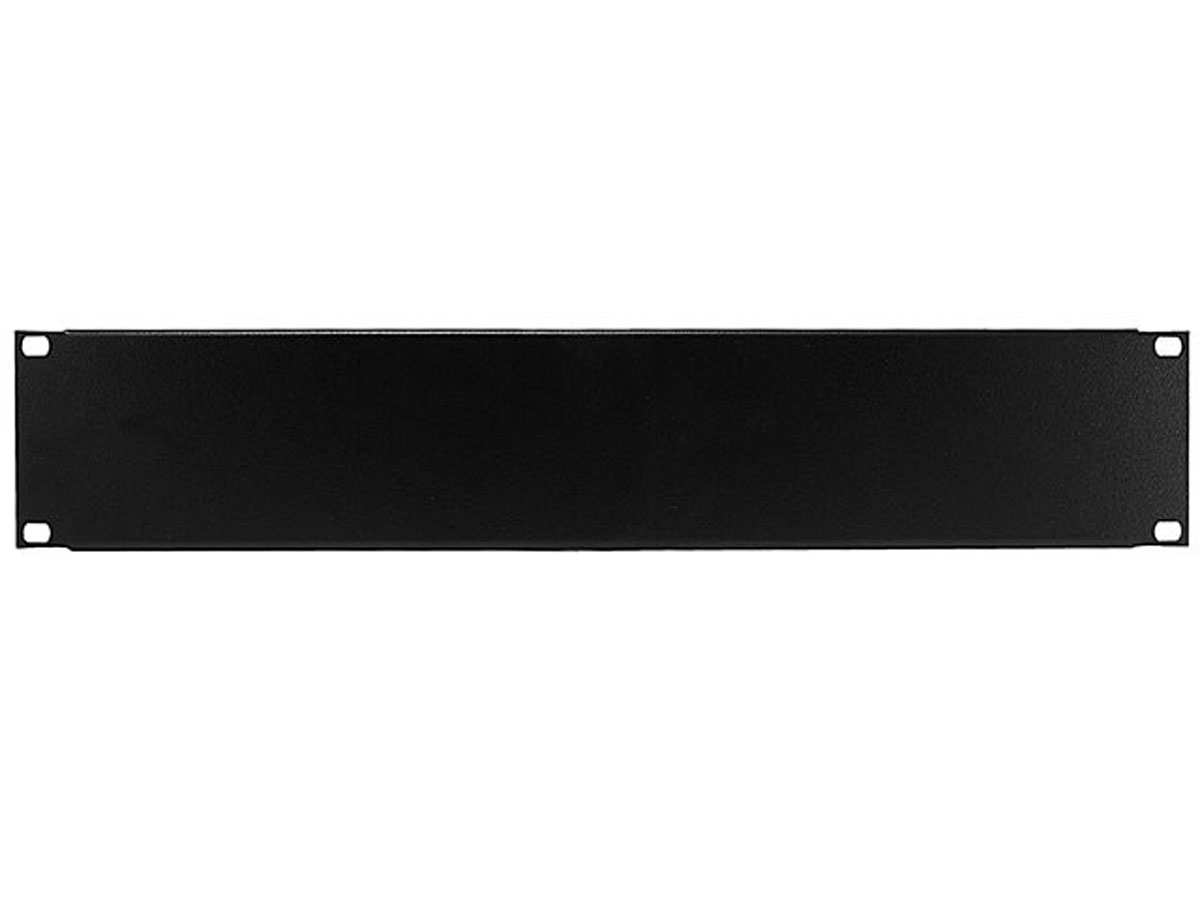 Buddy
Buddy  of mine had one laying around. So far $0. I know what you are thinking. “Hey genius you don’t have any holes…..”
I know. I got it. Relax. I busted out the blue painters tape and made some markings for the holes. 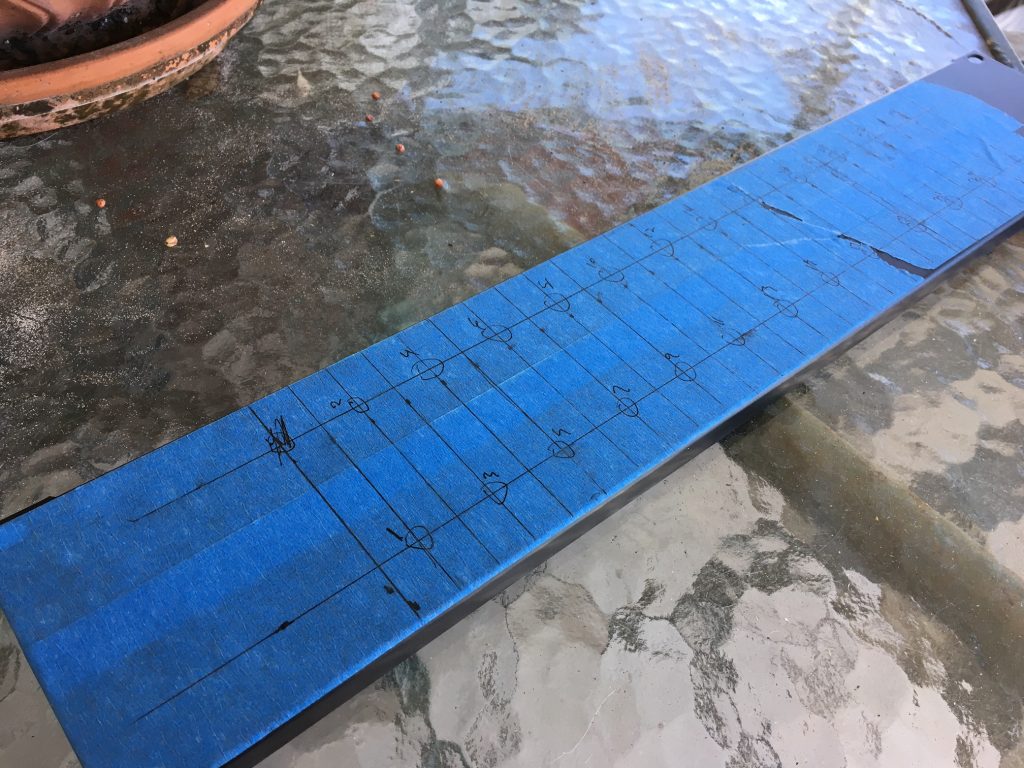
Now off to the drill press. Few drillings later we have swiss cheese!!
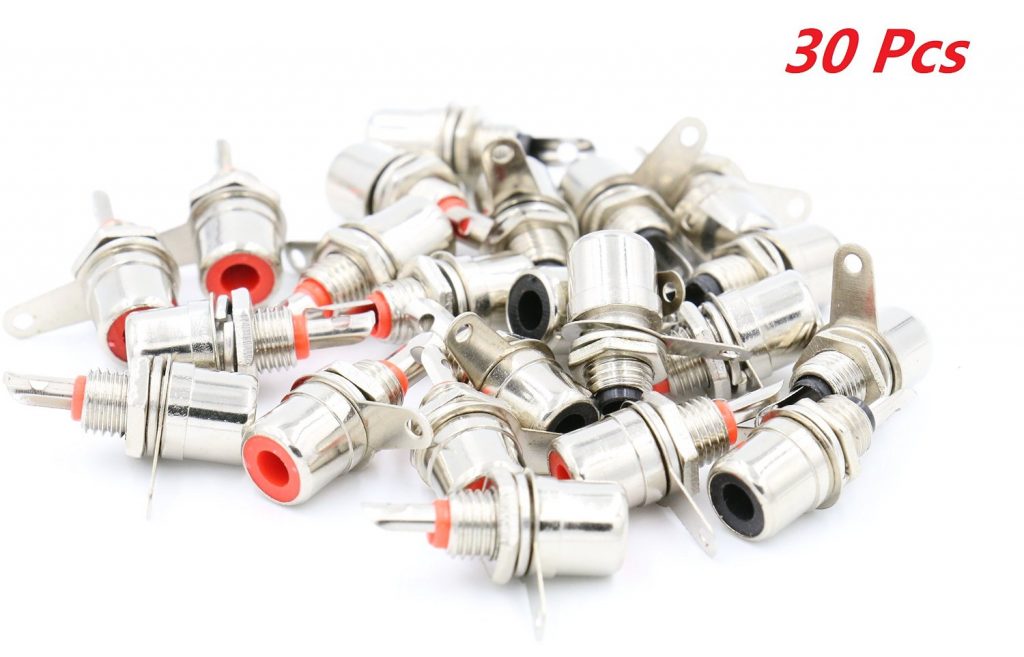
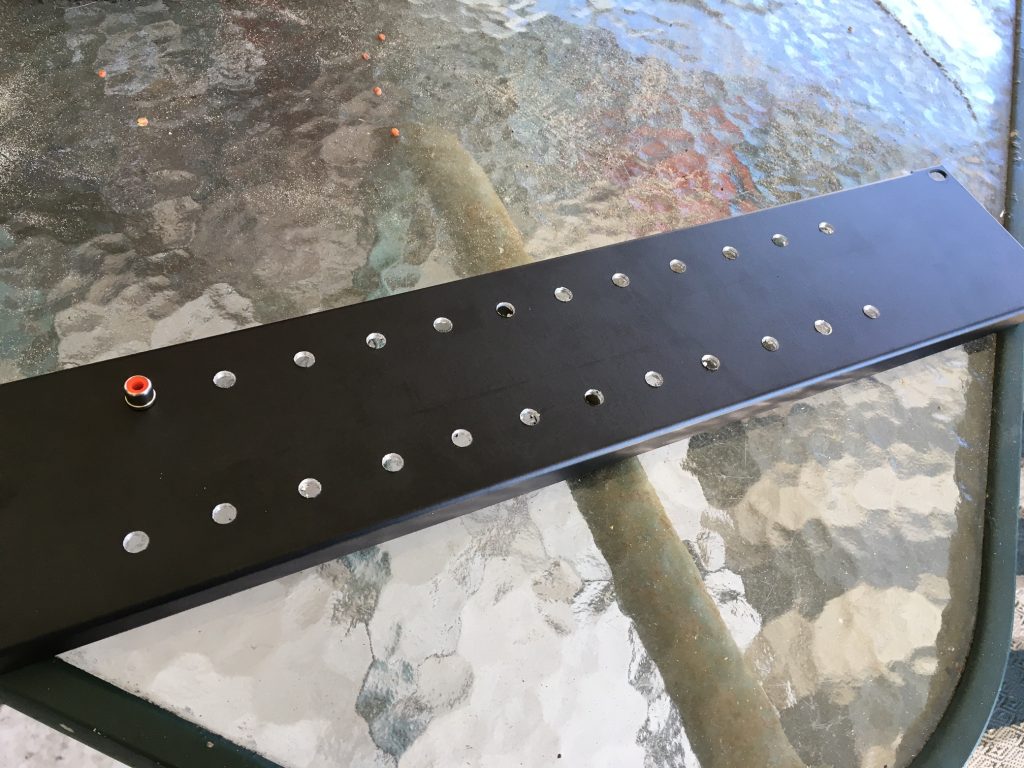 Had a super cheap pack of RCA jacks show up.
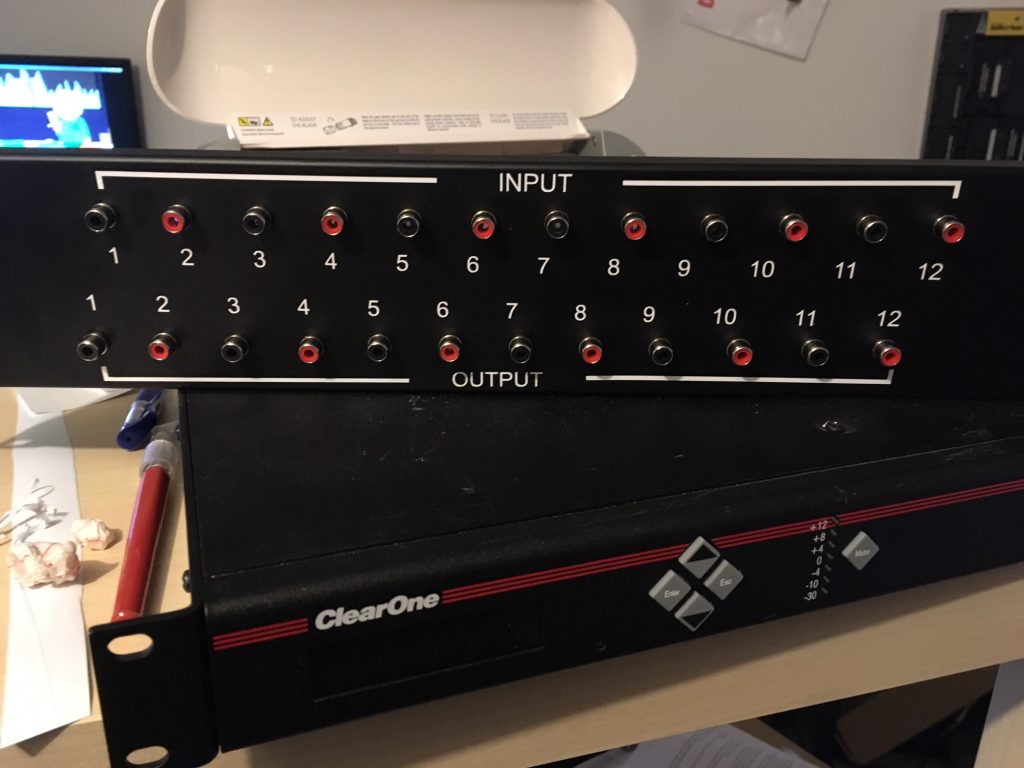
Initially I was planning on doing all my cable management through the middle, so I had red on top and black on the bottom. But then because I had the top and 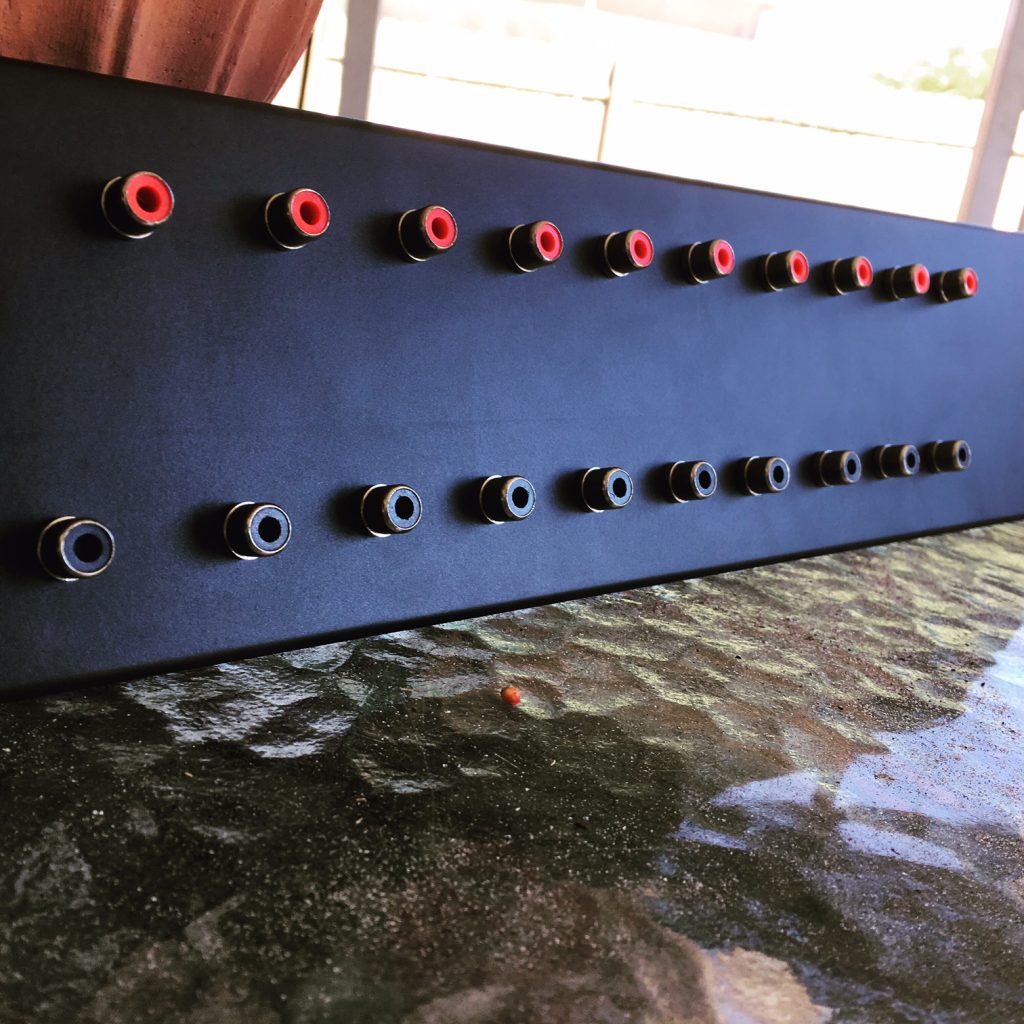 bottom row offset from each other it didn’t make sense. So I ended up swapping them around. I then soldered speaker wire to the back of each jack. It took a while, but it was worth it. Wired up to the screw terminals I now had a nice pretty panel.
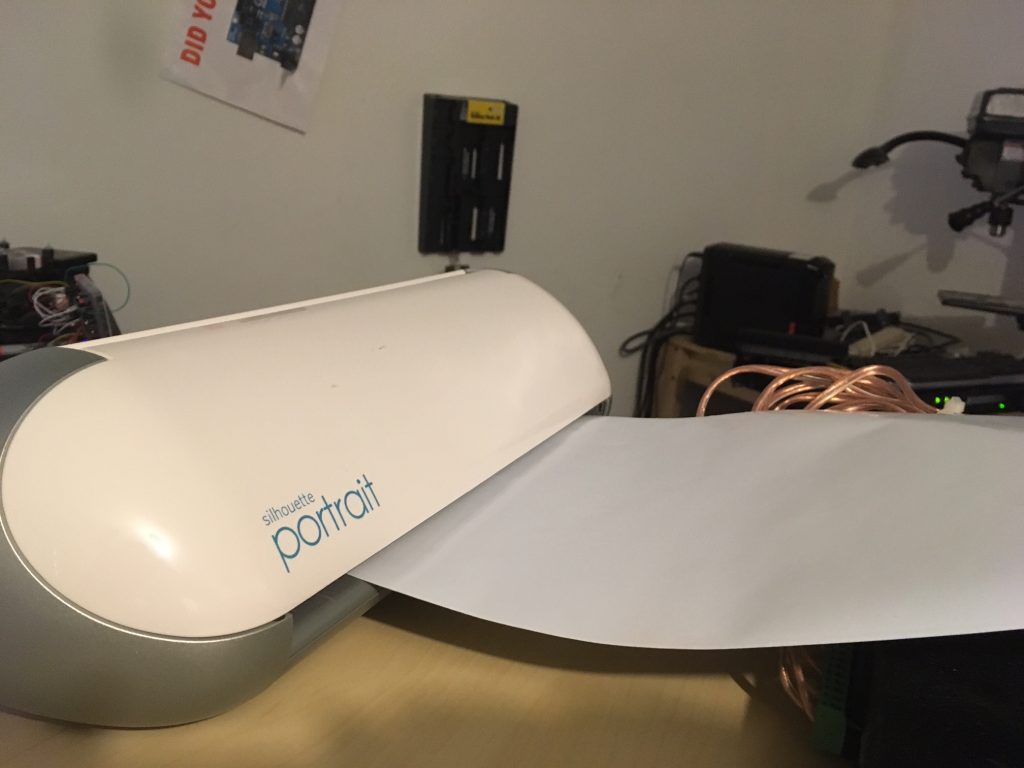
So I wanted to get things labelled up. But my label maker is junk. The sticky tape just falls off. So I could paint. But then it looks messy. So then it hit me. Vinyl!!!
I was able to pick up a craft cutter for super cheap (<$35) and designed up some labels, ordered some white vinyl.
CUT!!!
 A little transfer paper and a crooked eye and I now have some much nicer labels.
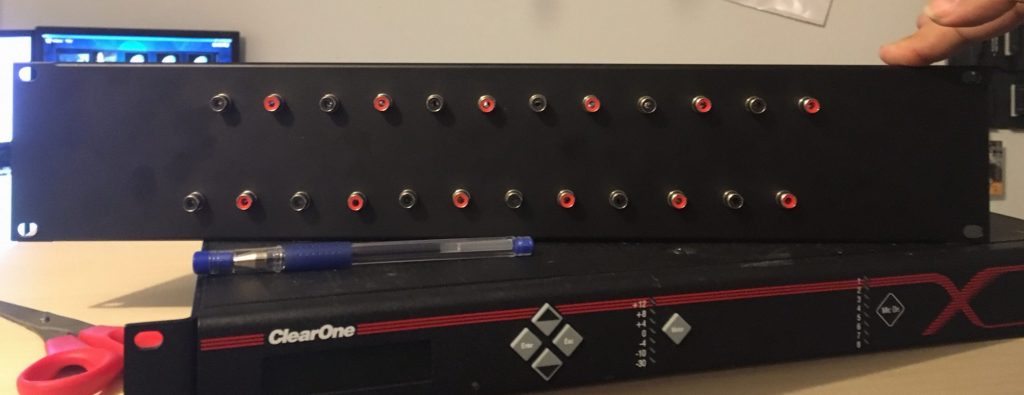
Now it’s all mounted up in my rack nice and pretty. I have my main computer in my office routed through the device as an input source, and then my main speakers as an output. Then a media center raspberry pi routed as another input. It’s now mixed with the audio from my main computer. Both computers using the same speakers.


Comments