
Wow, its been 6 months since I wrote part 1.
I will show a few more pics of the build and then go into some MAJOR things I learned. Some links to really good resources and some pics of various prints I have done.
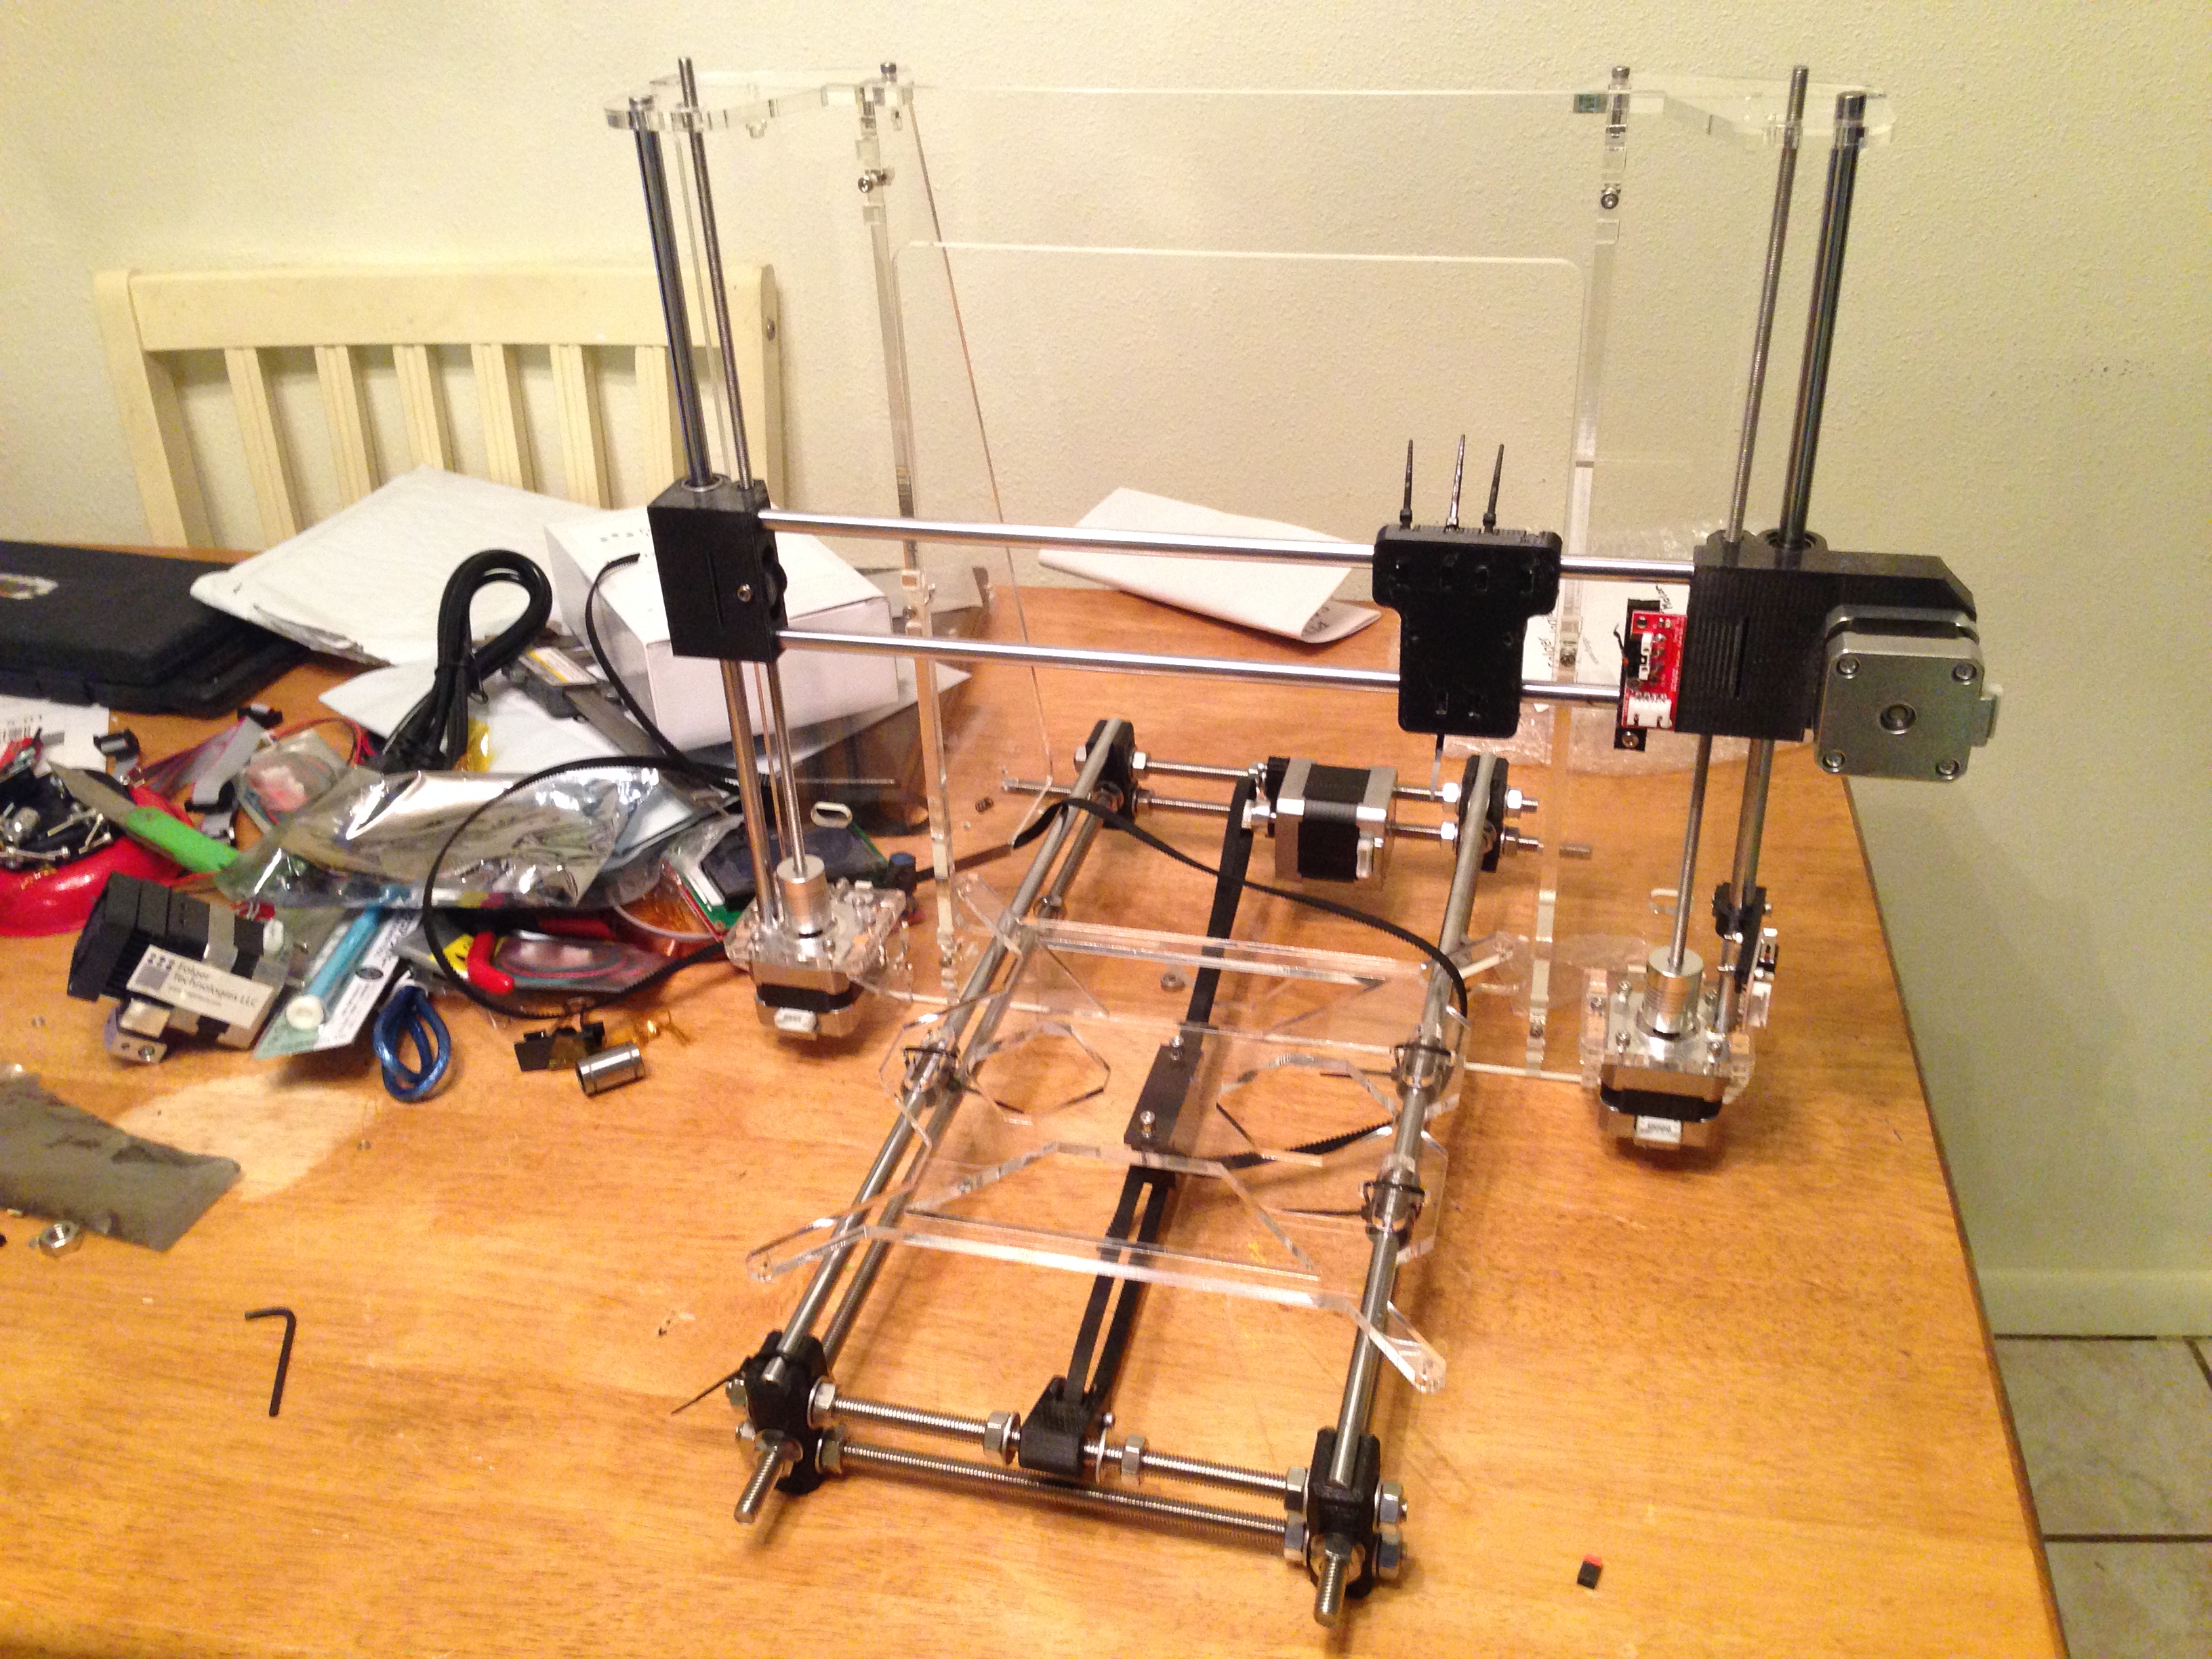
This was the picture after I got a lot of the main support structure together. I thought I was getting close to being done. Oh how wrong I was..
All of this info so far happened in the time between Wednesday and Saturday that first week. So Saturday night the wife is off to work, the kids are pre-occupied. PRINTER TIME. 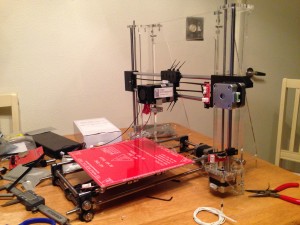
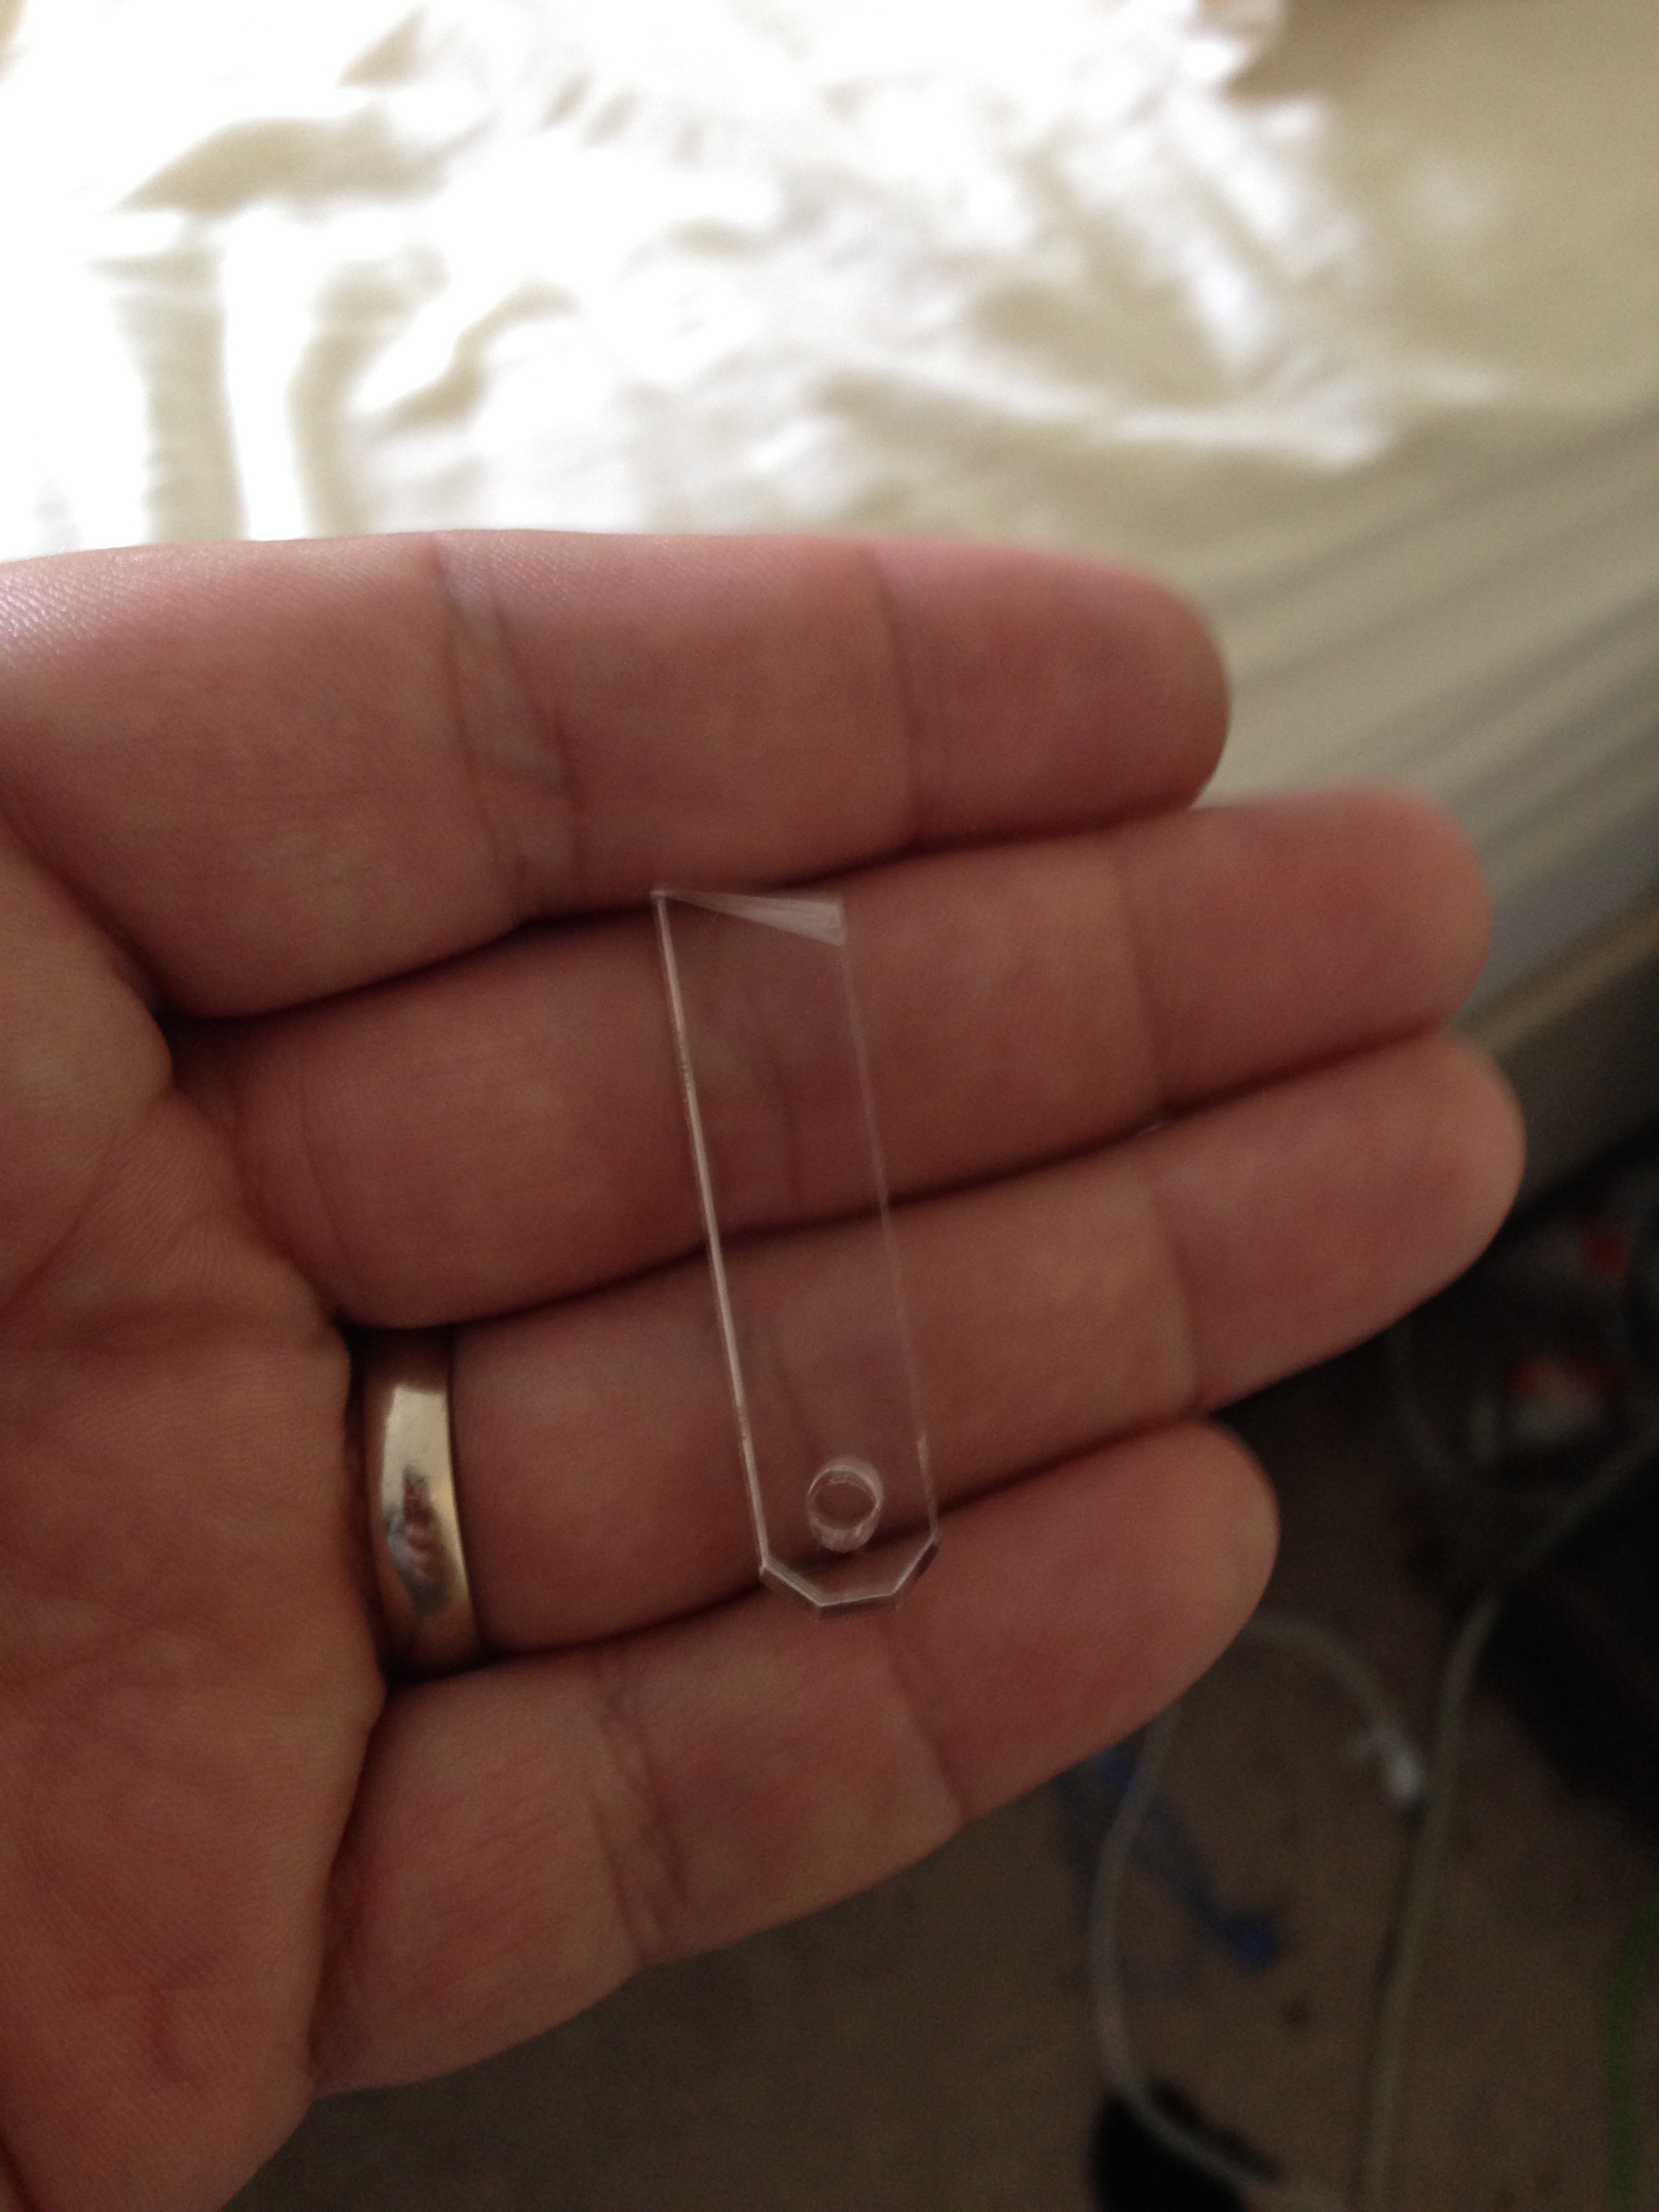
So I am putting on the heat bed the the y-carriage support (that acrylic plate in the middle.) You have springs you put over the screws so that it has constant pressure keep the plate level. I am pressing these things in…. crack!!

Yep, broke a piece of my printer before I even plugged in it.
I was devastated. However, not the end of the world. I continued on and just jammed a sticky note pad in there… don’t judge me. Desperate times called for desperate measures!
At that point I stepped away for 2 days and began working on it again going into the new week. Electronics time!!!
Now we have to hook up all that stuff.
Look how clean a RAMPS board looks before you hook everything up.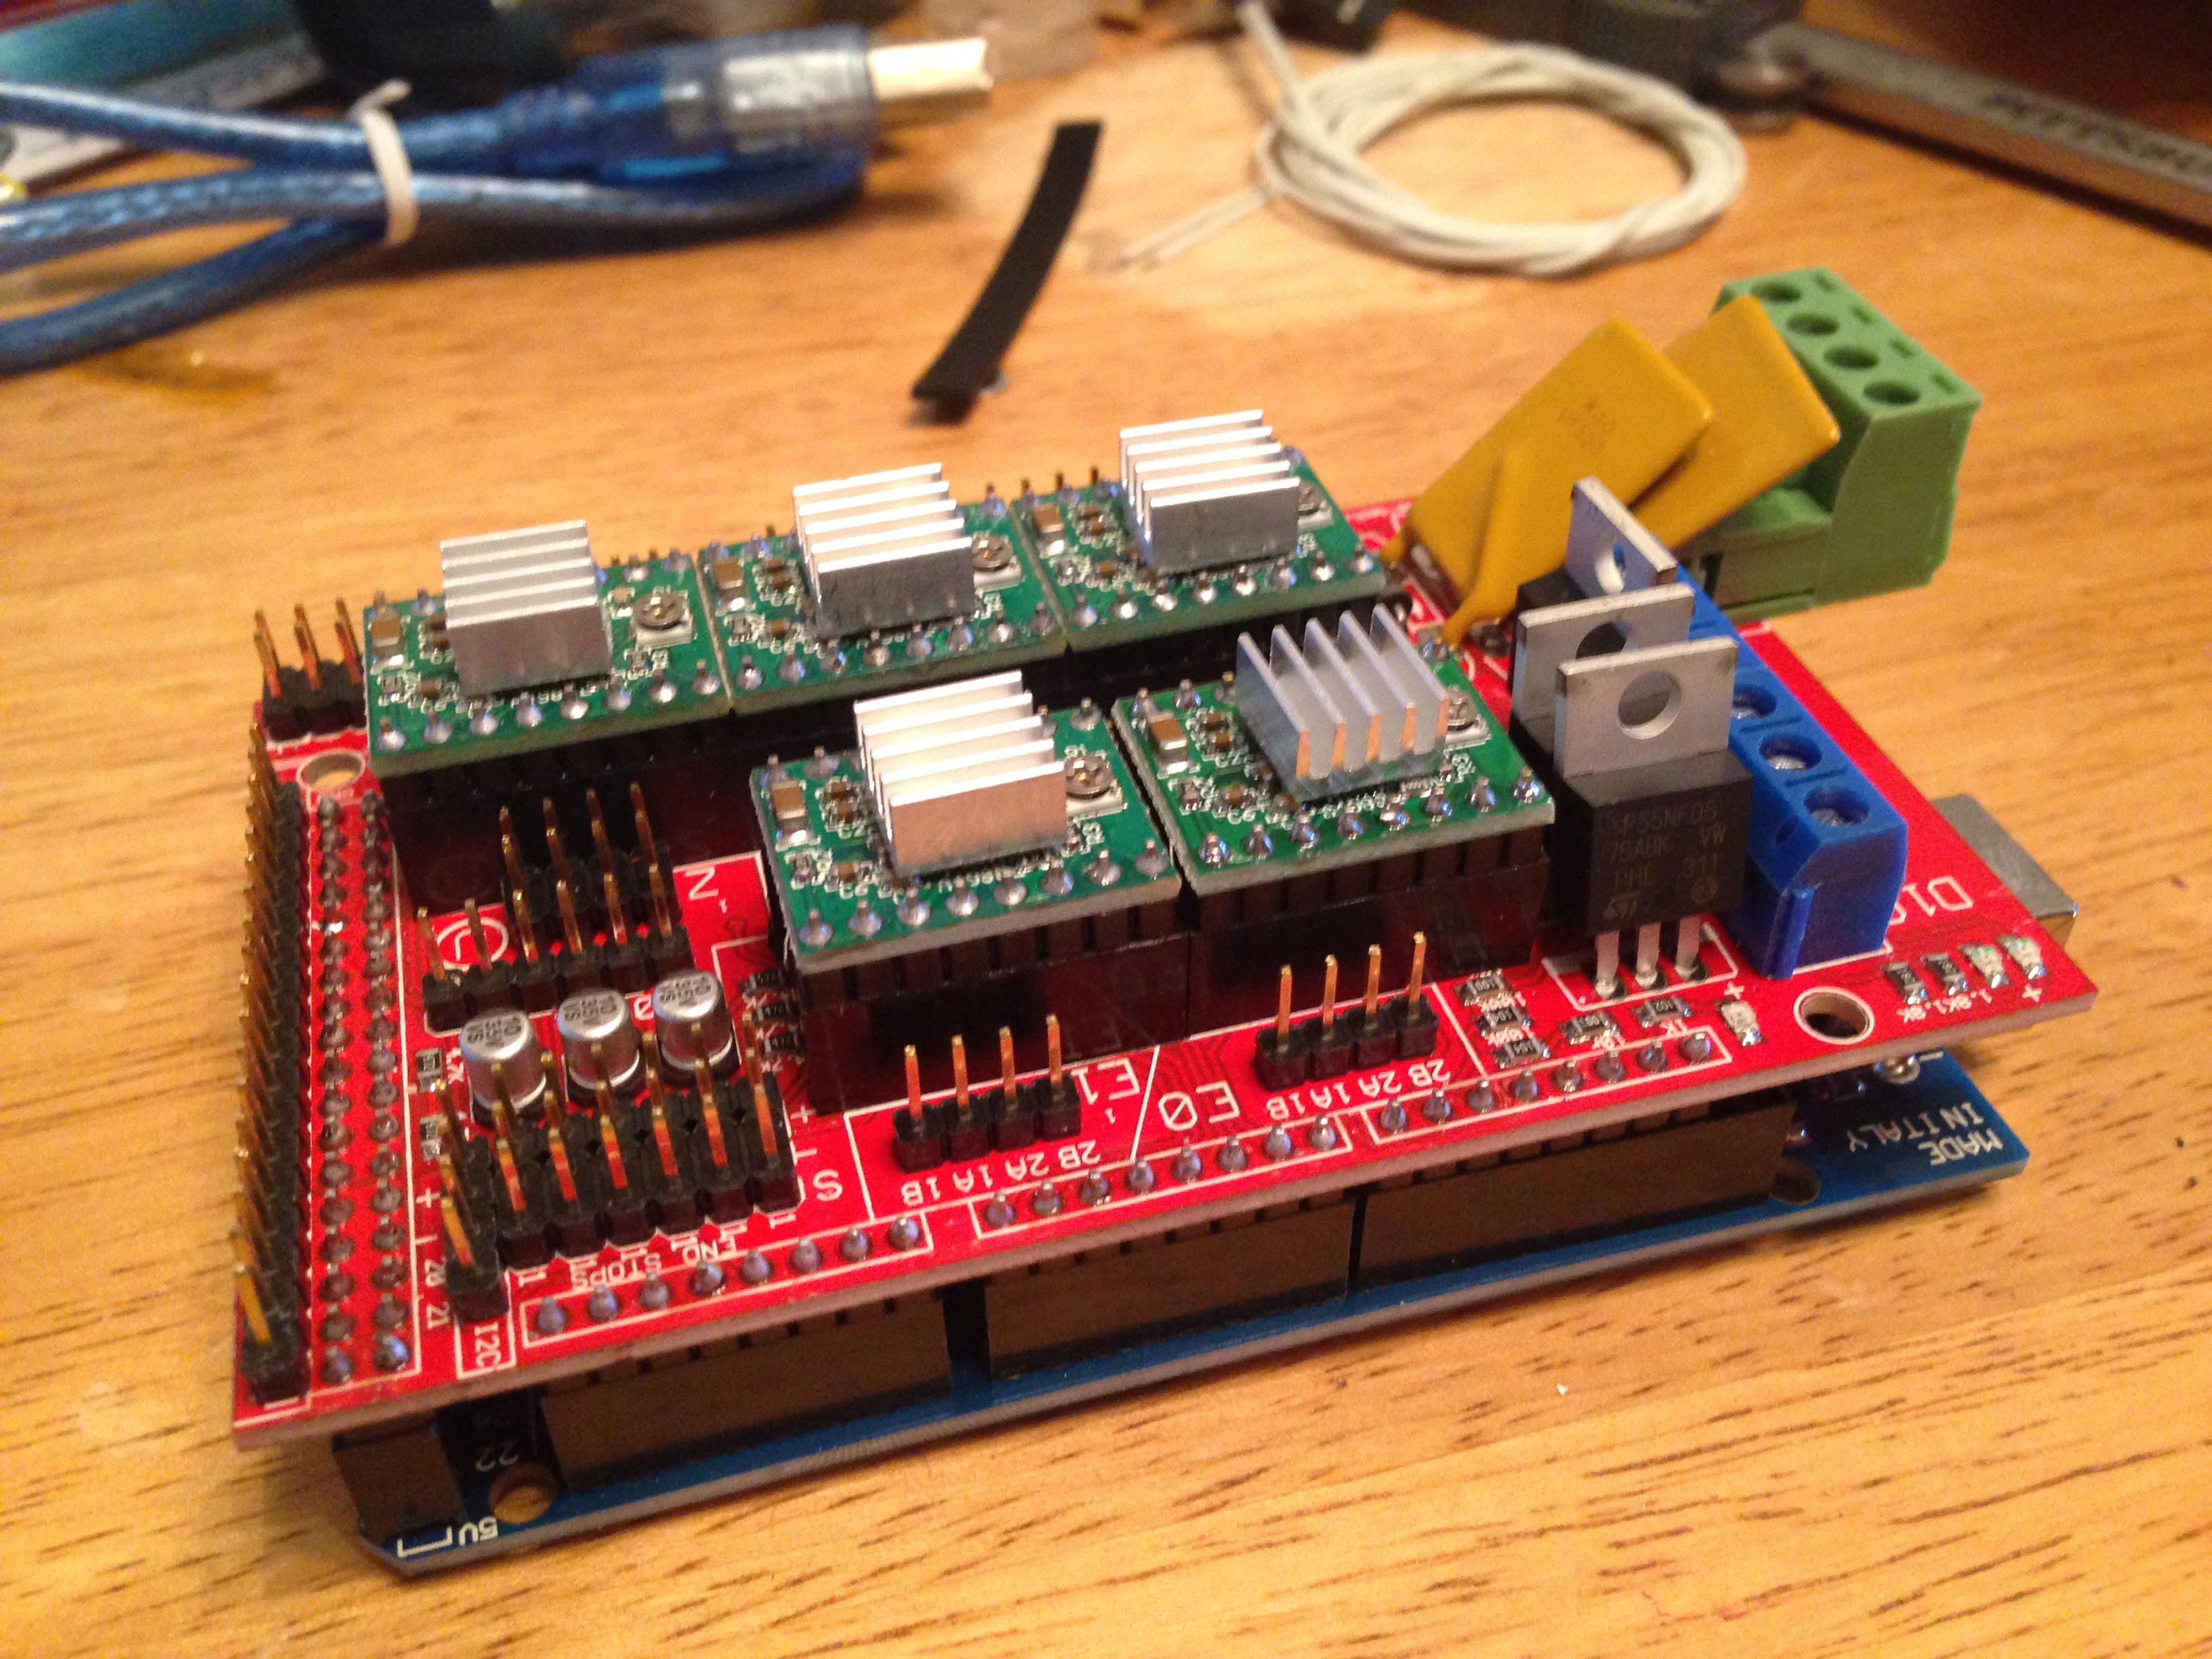
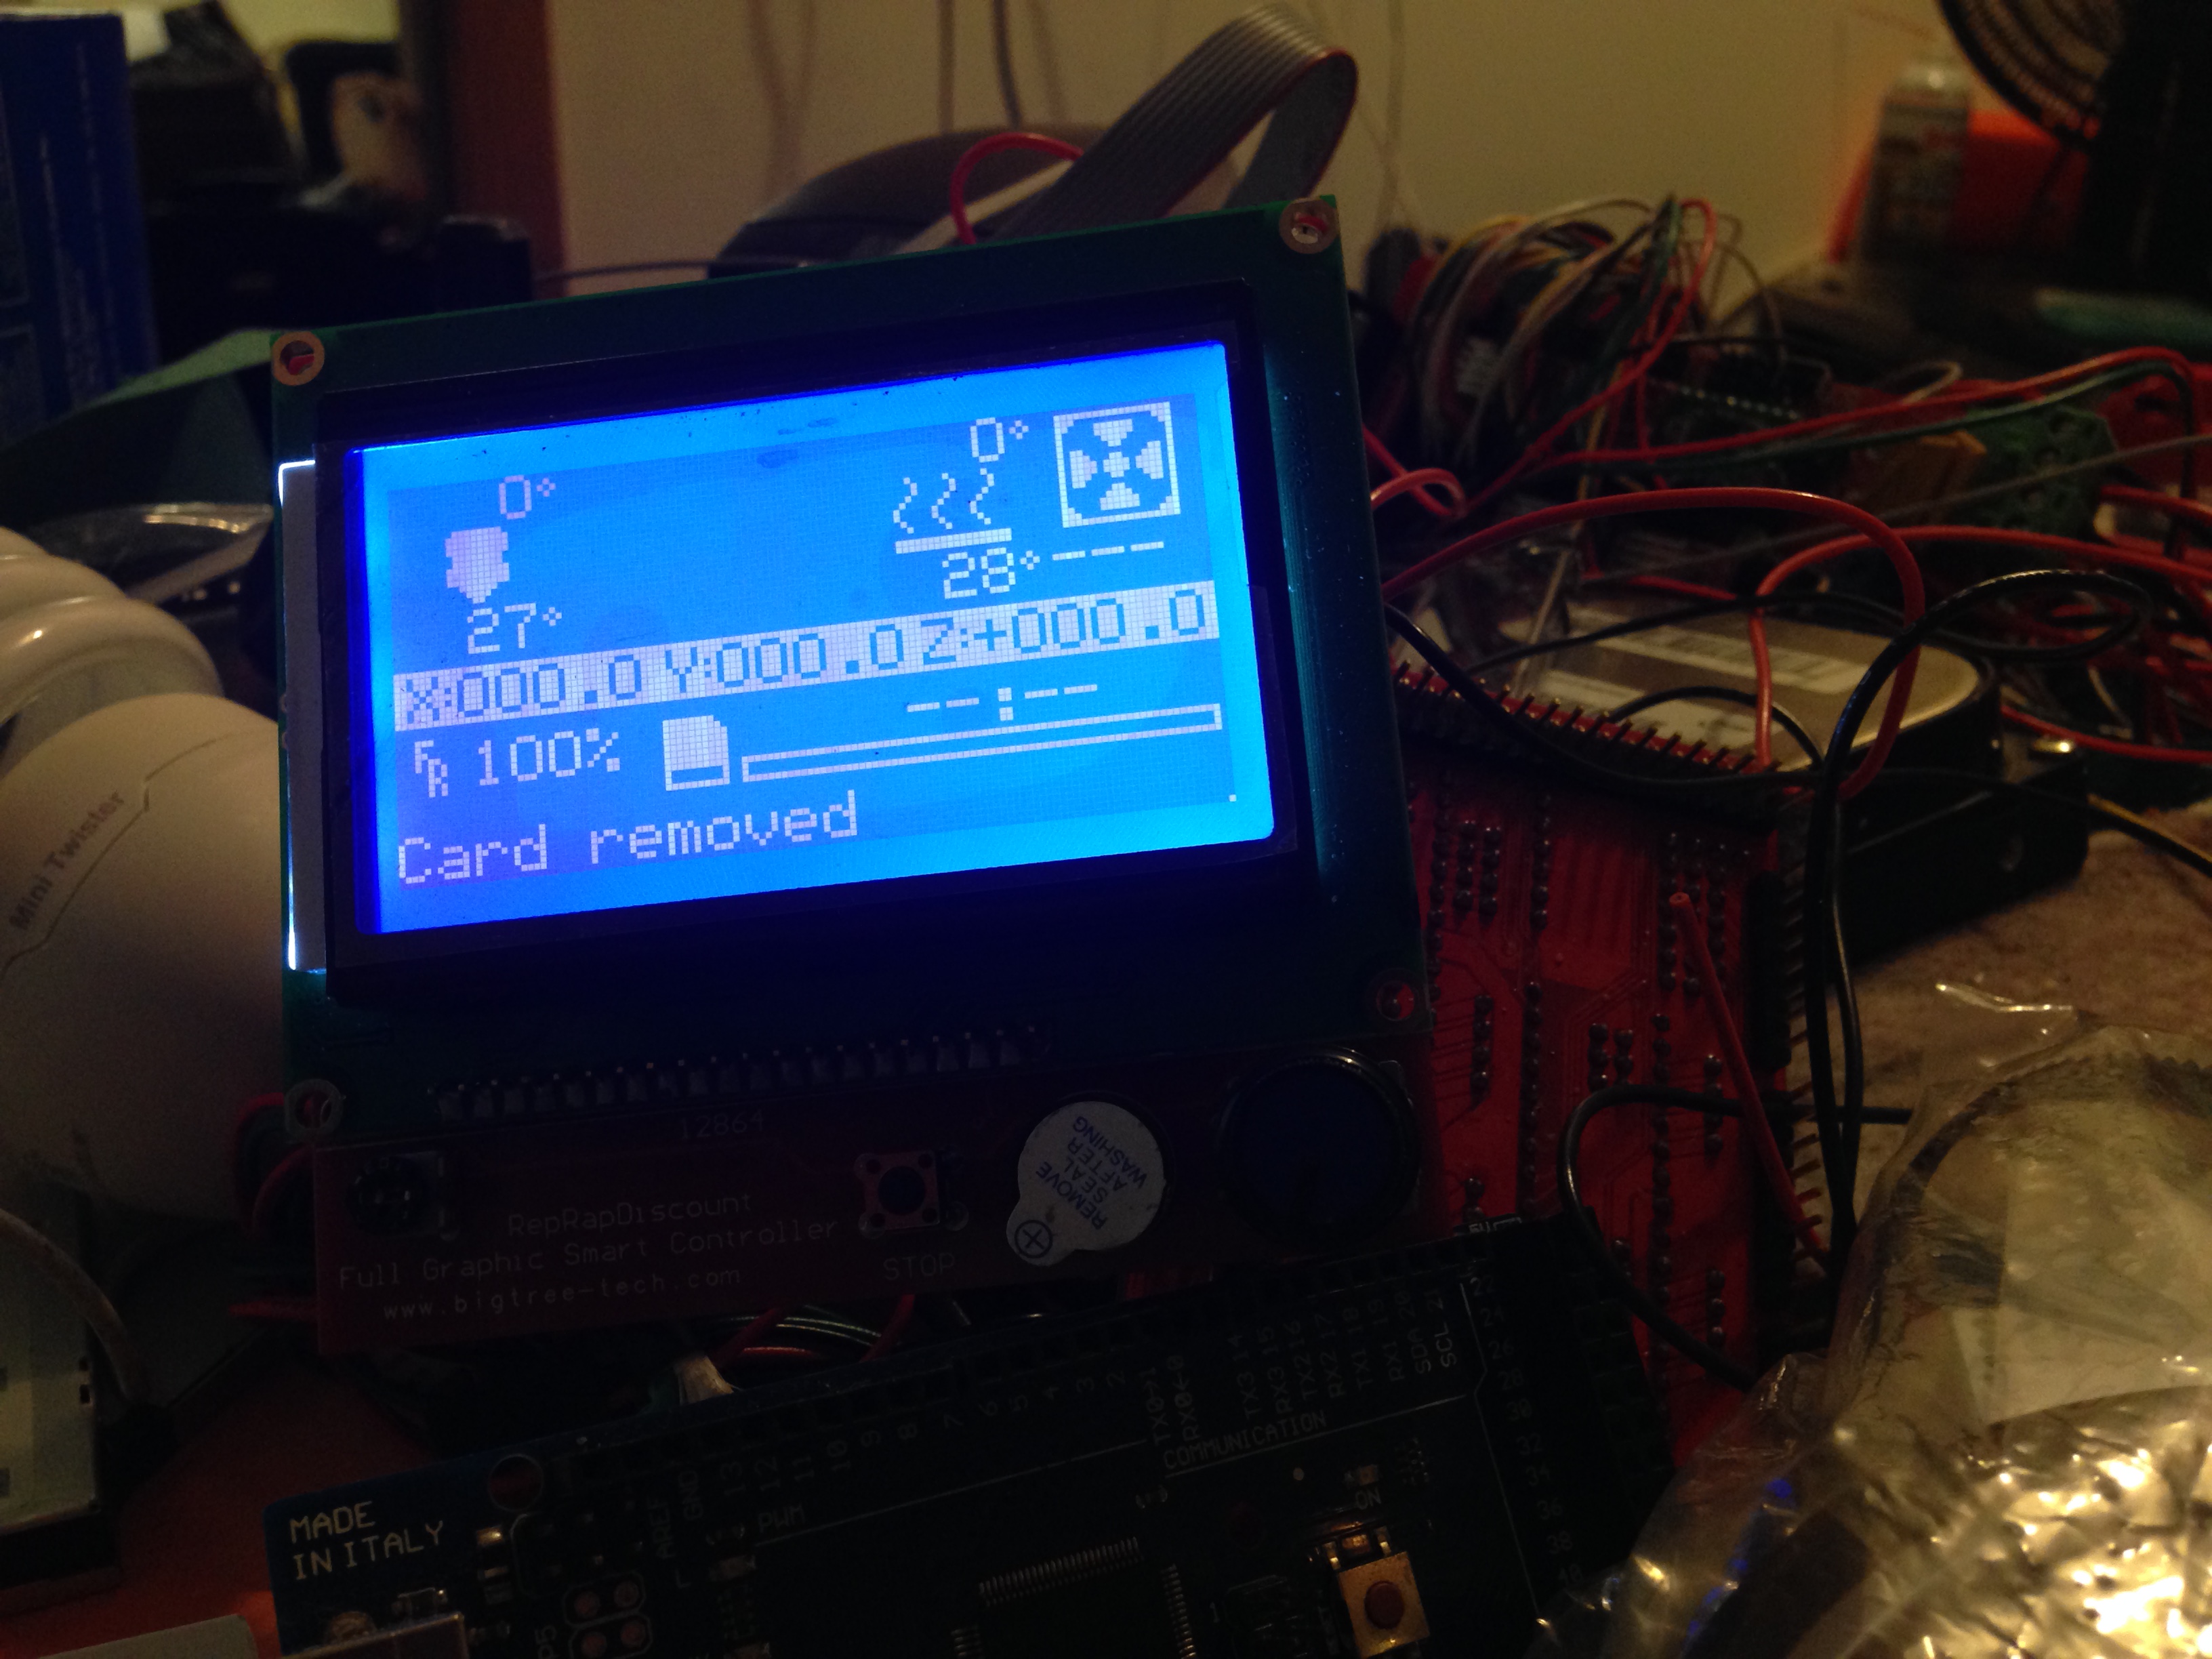
So I get everything hooked up. I’m done. Lets hook it to the computer, upload a test pattern for the motors and make it move.
Nothing…
Why isn’t it registering…. Why is that power light coming on and fading out…. Did I get a bum arduino mega? No worries!!! I have an extra one from another project, lets test it.
Out comes the magic smoke…. 1 of those little green stepper motor boards was on backwards and fried not only the arduino mega, but the mega, the RAMPS and 4 of 5 stepper motor drivers. Thank you amazon for having just that kit available for someone like me.
Now I am considering just setting it all on fire, molding it into something, and calling it “3d printer art” but we have it powering up now. So I had to give the dining room table back to the wife (she hates when I take over the table for projects)
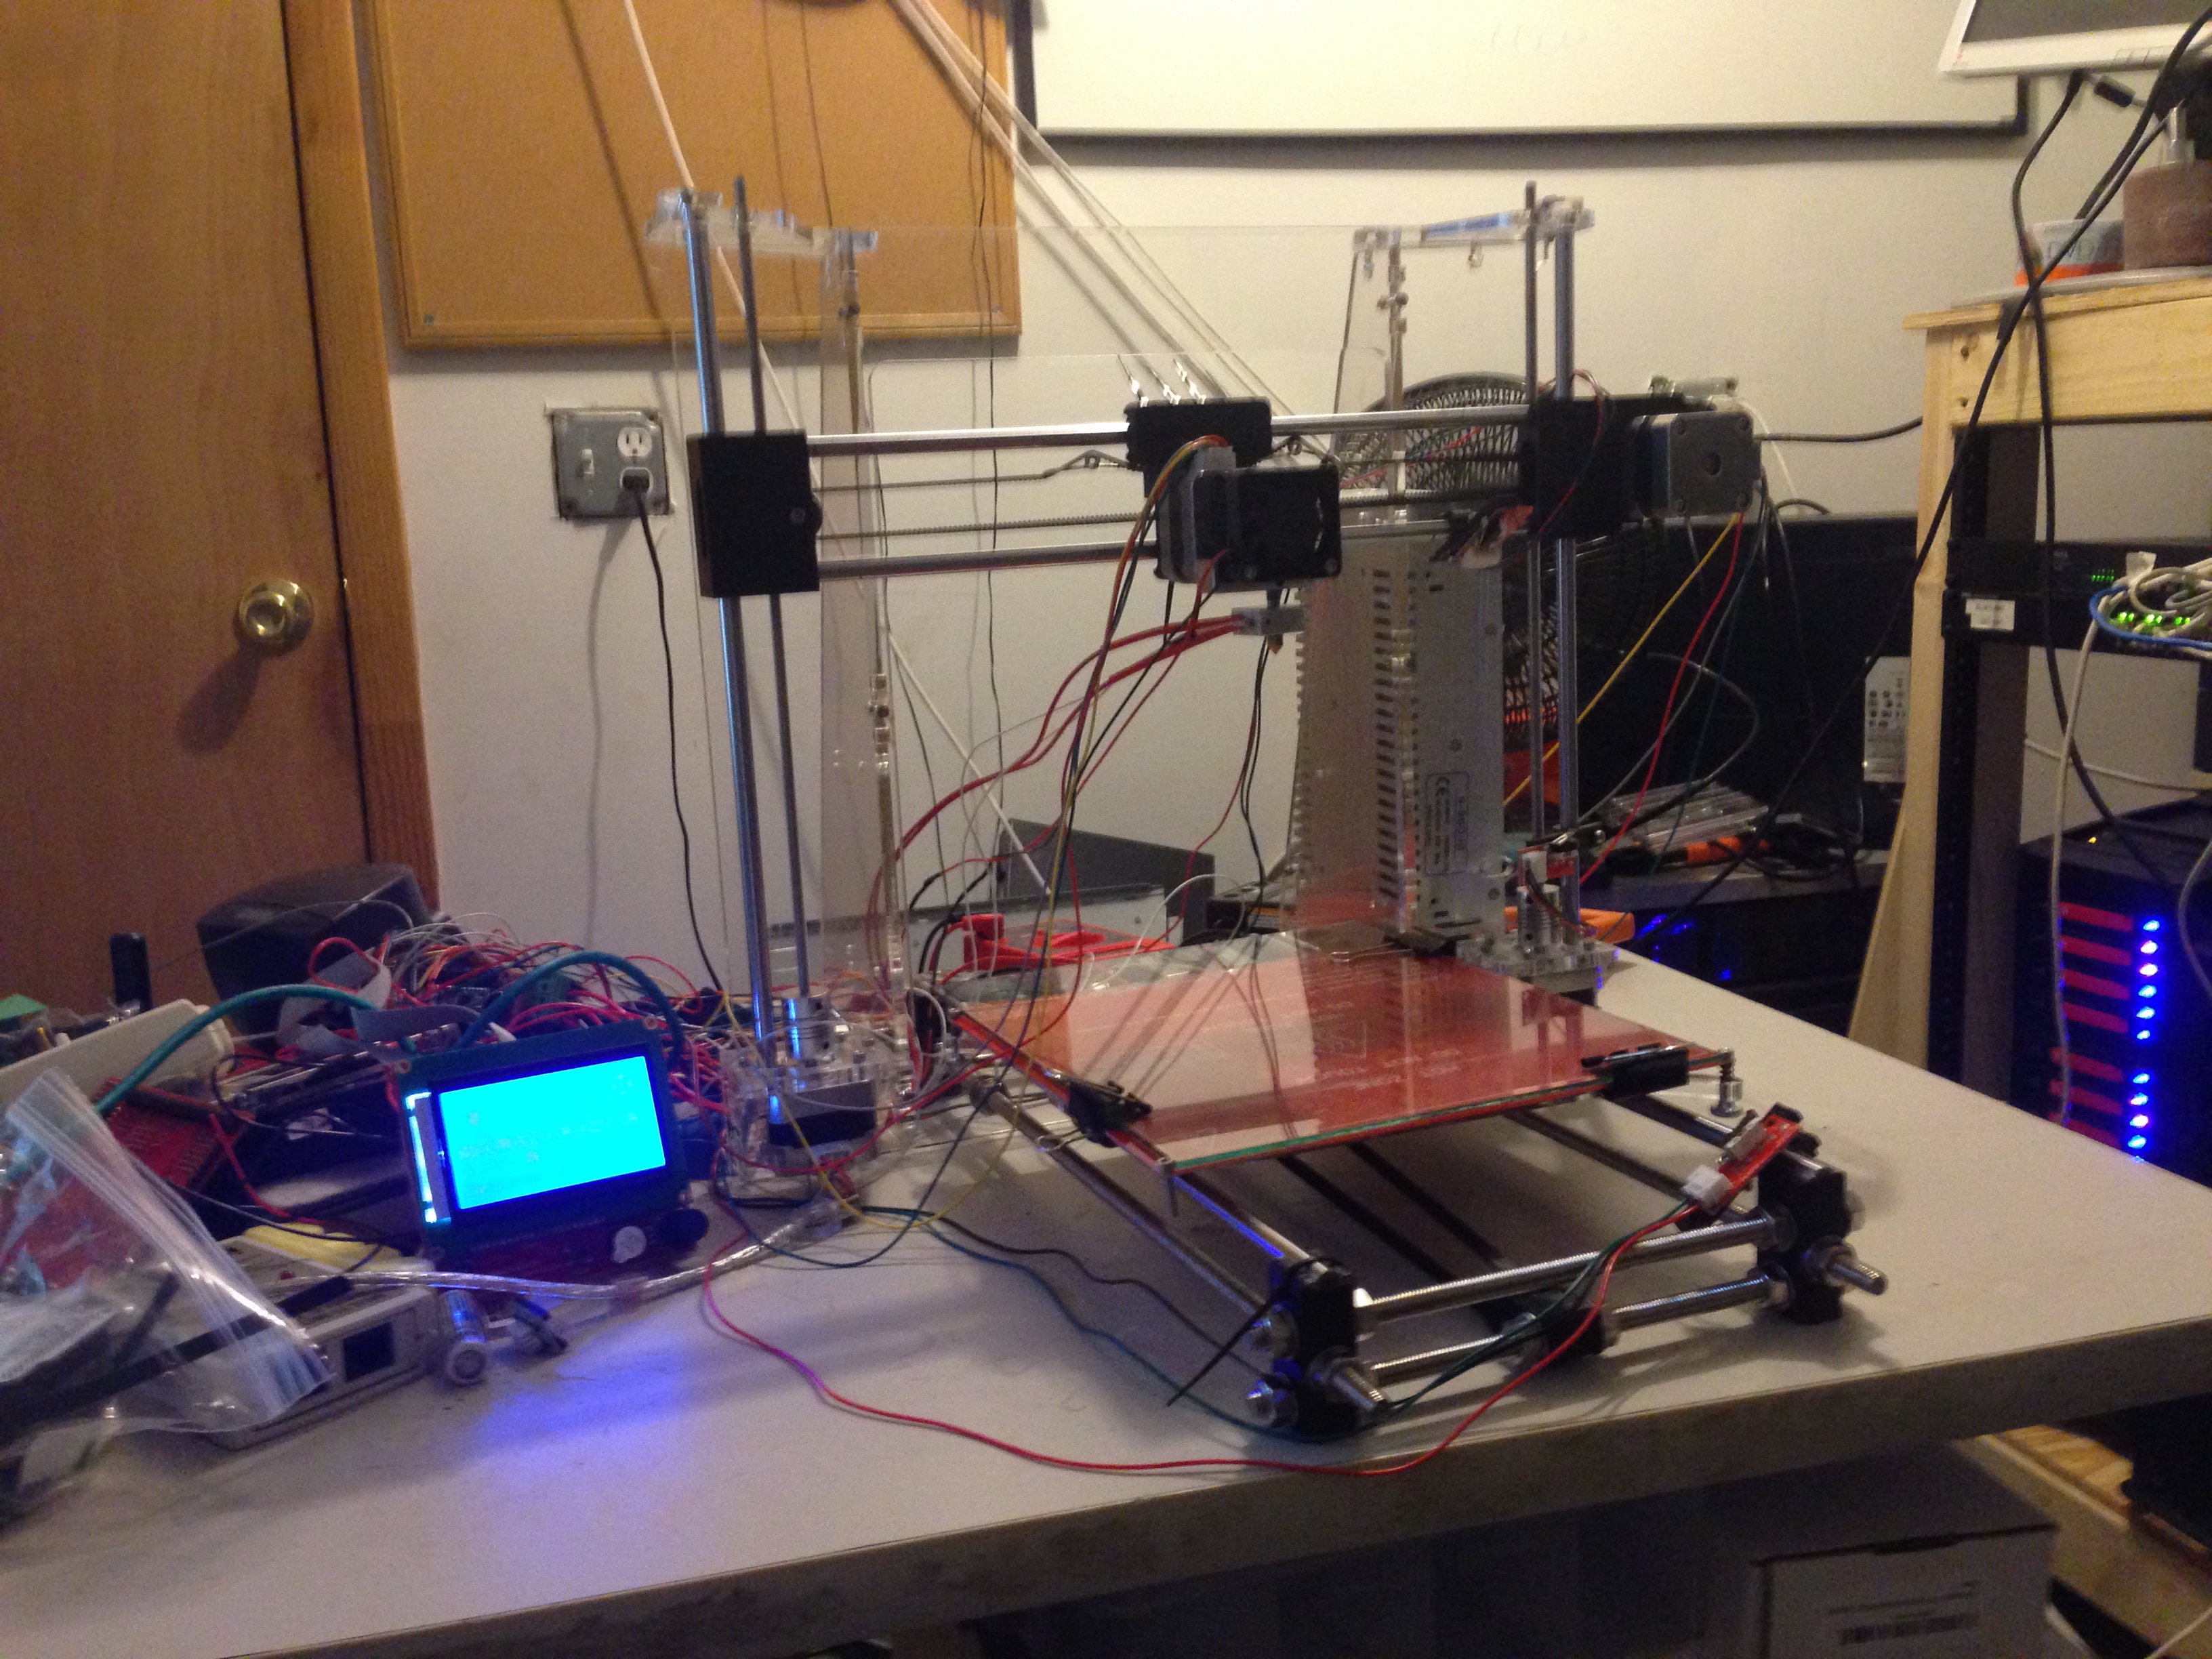
So its time to start trying to print.
HA!!! I wish it was that easy. 1 simple word for anyone considering 3dprinting. CALIBRATION!!!! Do it. Do it again. Keep doing it.
That clicking sound in the video. Yeah turns out that is bad. I was having problems with the motor being able to push the filament through the nozzle.
Calibrate your temperatures! Make sure you aren’t too close to the bed. Sigh. This went on for awhile.
Good calibration cube http://www.thingiverse.com/thing:214260
Then I ran into this lovely issue.
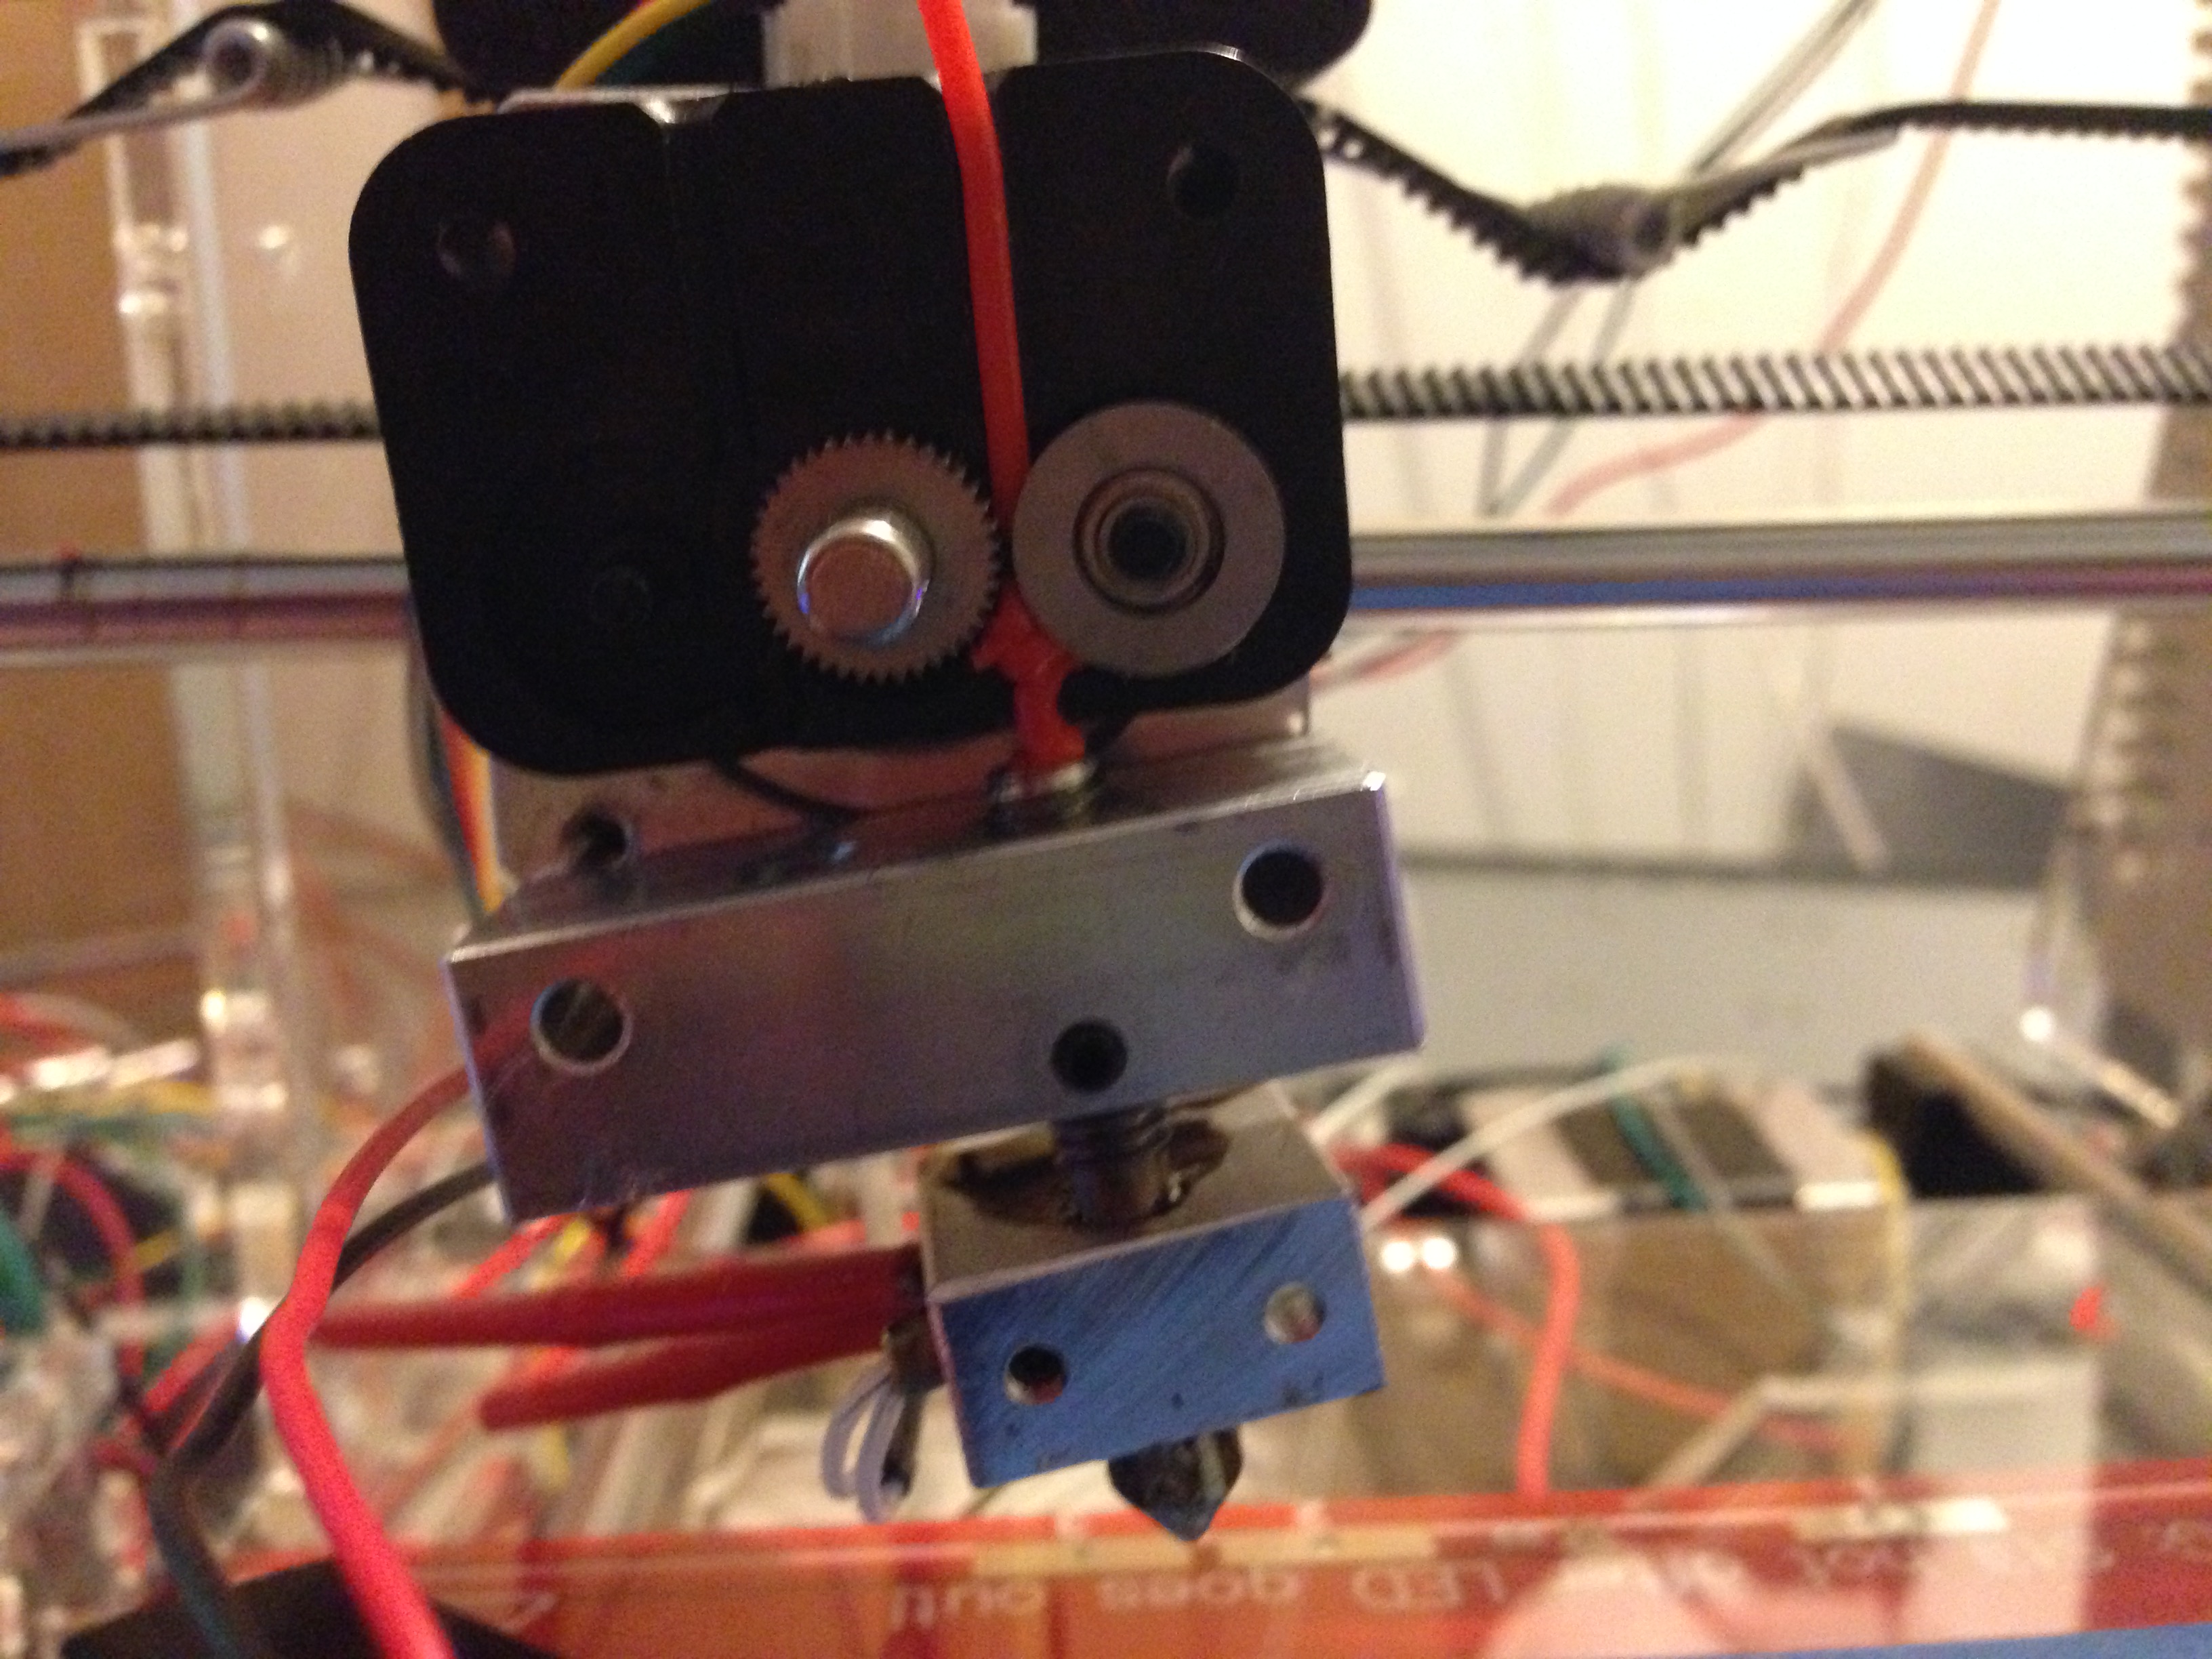
So much heat transfer into the extruder that it softened and jammed up. I cleared this SOOOO many times.
Look on the top of that heat block. See that little bit of leakage? That became the bane of my existence. Long prints and I would get a random build up of that plastic, it would drop on my print, cool, and snag the head.
Fixed the jamming with adjusting my cooling settings and print head temp.
Fixed the leaking head by pulling that throat tube out and putting some plumbers tape on it. Shouldn’t have needed it, maybe it was a bad tube, but worked like a champ since.
I had another problem later with all the vibrations my heating element fell out of the heat block. That was weird. Had to tighten everything down again.
Thermister broke… Replaced that.
Replaced nozzles a couple of times due to bad clogging (nozzles are cheap, order spares, you may be able to get acetone to dissolve a lot of the clogs, but who wants to wait multiple days)

Comments